5chan — The 4chan clone with NextJs
5 min readSep 18, 2021
This the continuation of the 5chan project : we’ve already discussed the Design and API
So for the final step I’ll create the frontend.
The flow:
- New user opens homepage / app
- Gets assigned a random user id until clears data
- Generate random Avatars using @dicebar/avatars
- Can create posts / delete own posts
- Look through posts timeline
- Reply to posts
Now, we’ll init a nextjs app and install the dependencies we’ll need:
- Chakra-UI — Components
- swr — Data fetching
- zustand — state management
- @dicebear/avatars — generating avatars
- formik — manage, validate post create form
# Get the nextjs app template
npx create-next-app 5chan --typescript
cd 5chan
pnpm install
# The chakra-ui UI library, icons for chakra-ui & swr
pnpm add @chakra-ui/react @emotion/react@^11 @emotion/styled@^11 framer-motion@^4 @chakra-ui/icons swr zustand @dicebear/avatars @dicebear/micah formik
- To setup chakra-ui, you’ll have to wrap the app with ChakraProvider like so:
import { AppProps } from 'next/app';
import { ChakraProvider } from '@chakra-ui/react';
import '@/styles/globals.css';export default function MyApp({ Component, pageProps }: AppProps) {
return (
    <ChakraProvider>
        <Component {...pageProps} />
    </ChakraProvider>
    );
}
- The types.ts for consistent structures:
// types.ts
//User State
export interface UserStore {
user: User | undefined;
setUser: (user: User) => void;
}
// User Object
export interface User {
id: string;
avatar: string;
}
// Posts
export interface Post {
CreatedAt?: Date;
UpdatedAt?: Date;
DeletedAt?: boolean;
ID?: string;
title: string;
author: string;
body: string;
replies?: Reply[];
}
// Post Reply
export interface Reply {
CreatedAt?: Date;
UpdatedAt?: Date;
DeletedAt?: boolean;
ID?: string;
author: string;
body: string;
postId: string;
}- Generating random user and avatar data then storing them in LocalStorage for later use :
//user.ts
import { customAlphabet } from 'nanoid/async';
import { User } from './types';
import { createAvatar } from '@dicebear/avatars';
import * as style from '@dicebear/micah';const userKey = 'currentUid';const createUser = async (): Promise<User> => {
const nanoid = customAlphabet('0123456789', 10);
const id = await nanoid();
const avatar = createAvatar(style, {
seed: 'id',
dataUri: true,
});
const user: User = { id, avatar };
localStorage.setItem(userKey, JSON.stringify(user));
return user;
};export const getUser = async (): Promise<User> => {
let result = localStorage.getItem(userKey);
let user: User;
if (!result) {
return await createUser();
}
user = JSON.parse(result) as User;
return user;
};
- The great thing about zustand is that you don’t have the wrap the entire app inside a context to use it. It can stay away from the UI code as small stores. So it’s easy to use.
//stores.ts
import create from 'zustand';
import { User, UserStore } from './types';export const userStore = create<UserStore>((set) => ({
user: undefined,
set((state) => {
    state.user = user;
    }),
}));
- Now the API requests to
POST&GETreplies:
//replies.ts
import { Reply } from './types';///
export const fetchReplies = async (url: string):Promise<Reply[]> => {
const result = await fetch(url);
if (result.status >= 400) {
    return [];
}
return (await result.json()) as Reply[];
};///
export const postReply = async (reply: Reply): Promise<Reply | undefined> => {
const apiUrl = `${process.env.NEXT_PUBLIC_API_URL!}/api/v1/replies`;
const apiKey = process.env.NEXT_PUBLIC_API_KEY;
if (!apiKey) {
    return;
}
const req: RequestInit = {
method: `POST`,
headers: { 'Content-Type': 'application/json', Authorization: apiKey },
body: JSON.stringify(reply),
};
const result = await fetch(apiUrl, req);
if (result.status >= 400) {
return;
}
return (await result.json()) as Reply;
};
- The API calls for
POSTing,GETing &DELETEing posts:
import { Post } from './types';///
export const fetchPosts = async (url: string): Promise<Post[]> => {
const result = await fetch(url);
if (result.status >= 400) {
    return [];
}
return (await result.json()) as Post[];
};export const fetchPostById = async (url: string): Promise<Post | undefined> => {
const result = await fetch(url);
if (result.status >= 400) {
    return;
    }
return (await result.json()) as Post;
};///
export const createPost = async (post: Post): Promise<Post | undefined> => {
const apiUrl = `${process.env.NEXT_PUBLIC_API_URL!}/api/v1/posts`;
const apiKey = process.env.NEXT_PUBLIC_API_KEY;
if (!apiKey) {
    return;
}
const req: RequestInit = {
method: `POST`,
headers: { 'Content-Type': 'application/json', Authorization: apiKey },
body: JSON.stringify({ ...post }),
};
const result = await fetch(apiUrl, req);
if (result.status >= 400) {
    return;
}
    return (await result.json()) as Post;
};///
export const deletePost = async (url: string): Promise<boolean> => {
const apiKey = process.env.NEXT_PUBLIC_API_KEY;
const req: RequestInit = {
method: `DELETE`,
headers: { Authorization: apiKey! },
};
const result = await fetch(url, req);
if (result.status >= 400) {
    return false;
}
return true;
};
OK now comes the final boring part, designing the UI. but it’s ok we only have three pages to code:
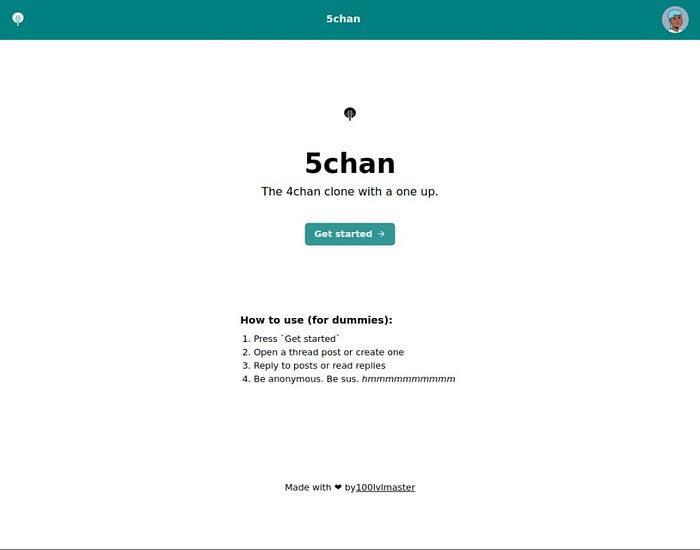
- Index page — intro, how to use.
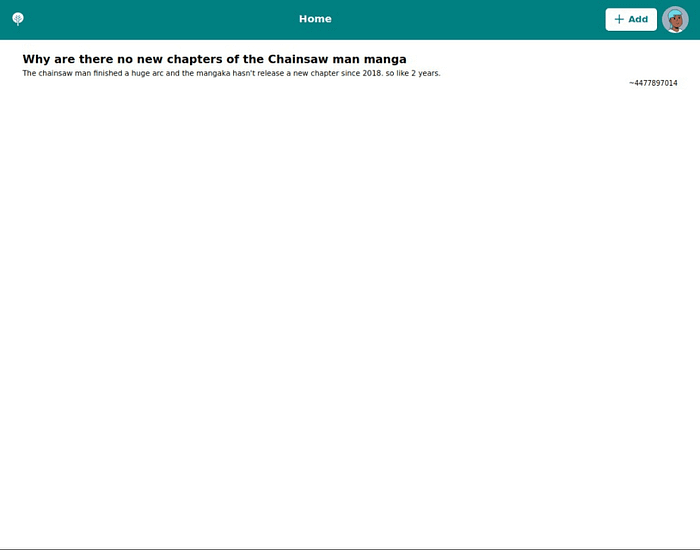
- Home page — timeline of posts, discussions.
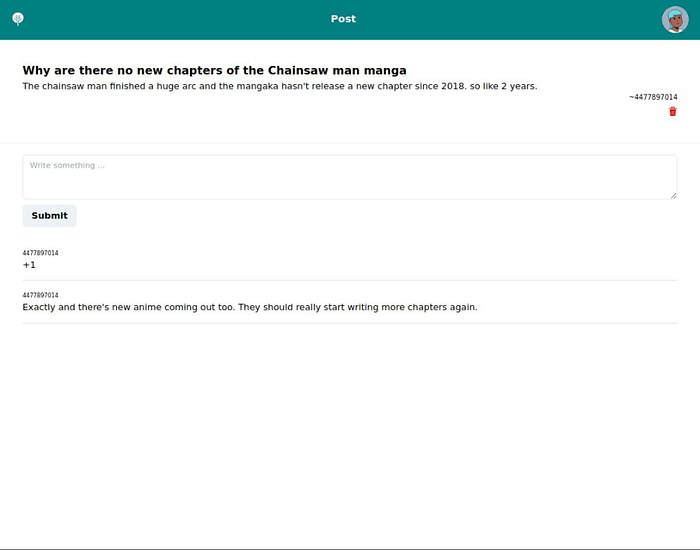
- Posts page : dynamic page according to post id.
You may design them however you want but if you still want to look over the code you can find the source code at:
layout
components
pages
That’s about all we need right now.
After running the project and deploying it.
Here are the screenshots ✨✨
This project is live at:
https://5chan.vercel.app/
The source code of this project lies at: https://github.com/100lvlmaster/5chan-go
You can find me at:
Website
https://100lvlmaster.in
Github
https://github.com/100lvlmaster